


I have a lot of trims and I mean a lot! As a designer I like to see everything I have to work with when I am creating new garments and projects. I usually start out with fabric selection, but it's the trims and ribbons that really bring a garment together. I wanted to create some easy, inexpensive ribbon holders so that I can have all my trims displayed out in my studio when I'm working. Also, I love looking at all these pretties, they make me so excited to get creative!


You can create these holders for your sewing trim or even use them for your gift wrapping ribbons. All of these supplies (aside from the craft paint) were found at our local hardware store. They only cost a few dollars each, so you can make as many as your heart desires! My hubby helped me by drilling the holes, so you may need to enlist the help of a drilling aficionado.
Want to make your own? Ok, let's get started.......

Supplies:
1 piece square corner trim
1 dowel rod cut 13" long
1 wooden knob
Craft paint
Paint Brush
Drill
Wood glue (optional)
Directions:


Drill a hole in the center of your square trim that is the same size as your dowel rod. If you can make it the slightest bit smaller then you can avoid having to glue it in place. But if it seems loose at all add some wood glue and allow it to dry. What size dowel rod should you use? Well, that's kind of up to you depending on what trims you are trying to store.


I found these wooden knobs and had my husband drill a hole in the bottom of them. Make sure you don't go through the entire knob, just about 3/4 of the way through.

Make sure your knob fits well on top and that your dowel rod is secured in place.


Grab your craft paint and paint each of the holders. I'm really into this Martha Stewart Craft Paint lately, so I choice a pretty blue in a high gloss finish, but any craft paint will work just fine.

Allow all of your pieces to dry. I like to tear open these paper bags from Trader Joe's and place them under my craft projects since they are nice and thick and will protect my cutting mat from the paint.
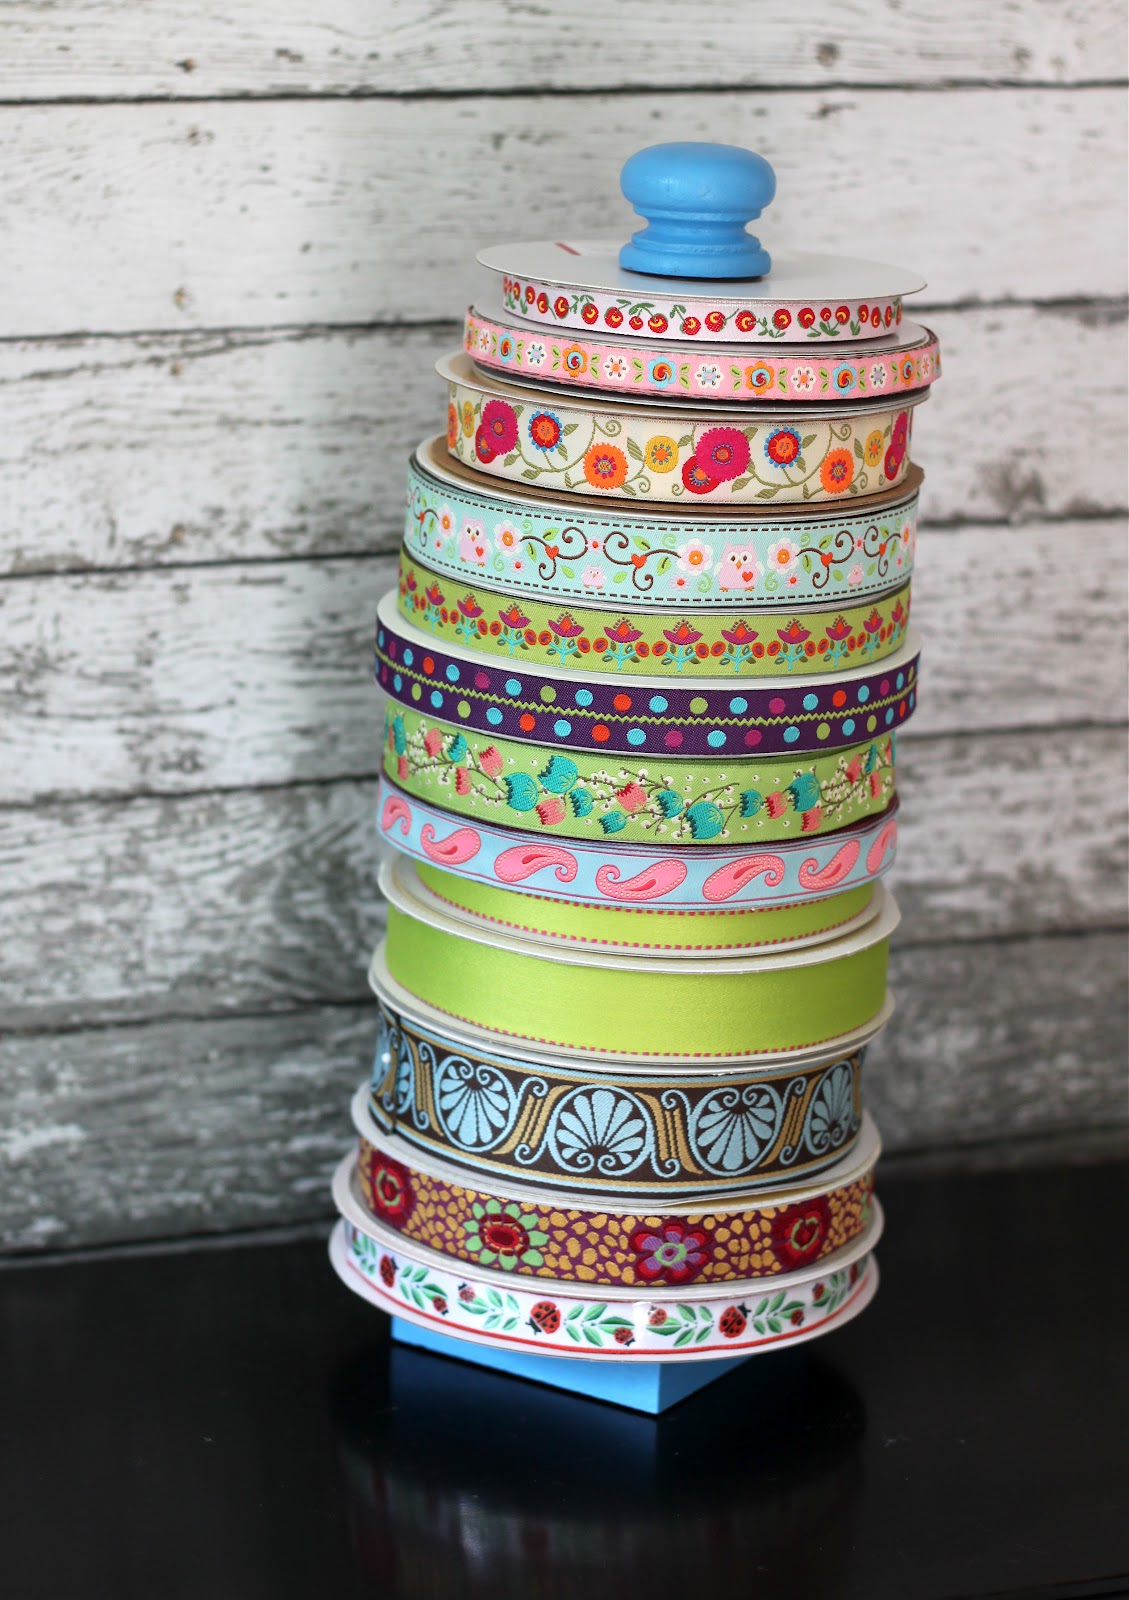
Slide your ribbons onto the dowel rod, place your knob on top and now you've got beautiful ribbon storage!


This project is so quick, easy and inexpensive and I'm in love with my three ribbon holders! It feels so great to be organized. I hope you enjoyed this tutorial and I'd love to know if you make any of these easy organizers.
Have a great day!


0 comments:
Post a Comment